Übersetzungshinweis
Leider war es uns noch nicht möglich, diese Seite für Sie auf Deutsch zu übersetzen. Wir zeigen daher stattdessen die englischsprachige Version der Seite und bitten um Verständnis.
Testing and going live#
In this final part of the tutorial, we will test our shop, check if everything works as intended, and finally take it live. Here is a brief overview of the steps we are going to take in this section:
- placing an order in test mode
- reviewing the order in the backend and marking it as paid
- testing the shop in every language we have activated
- making final improvements to our shop if necessary
- disabling test mode and deleting test orders
- taking the shop live
Testing and confirming orders#
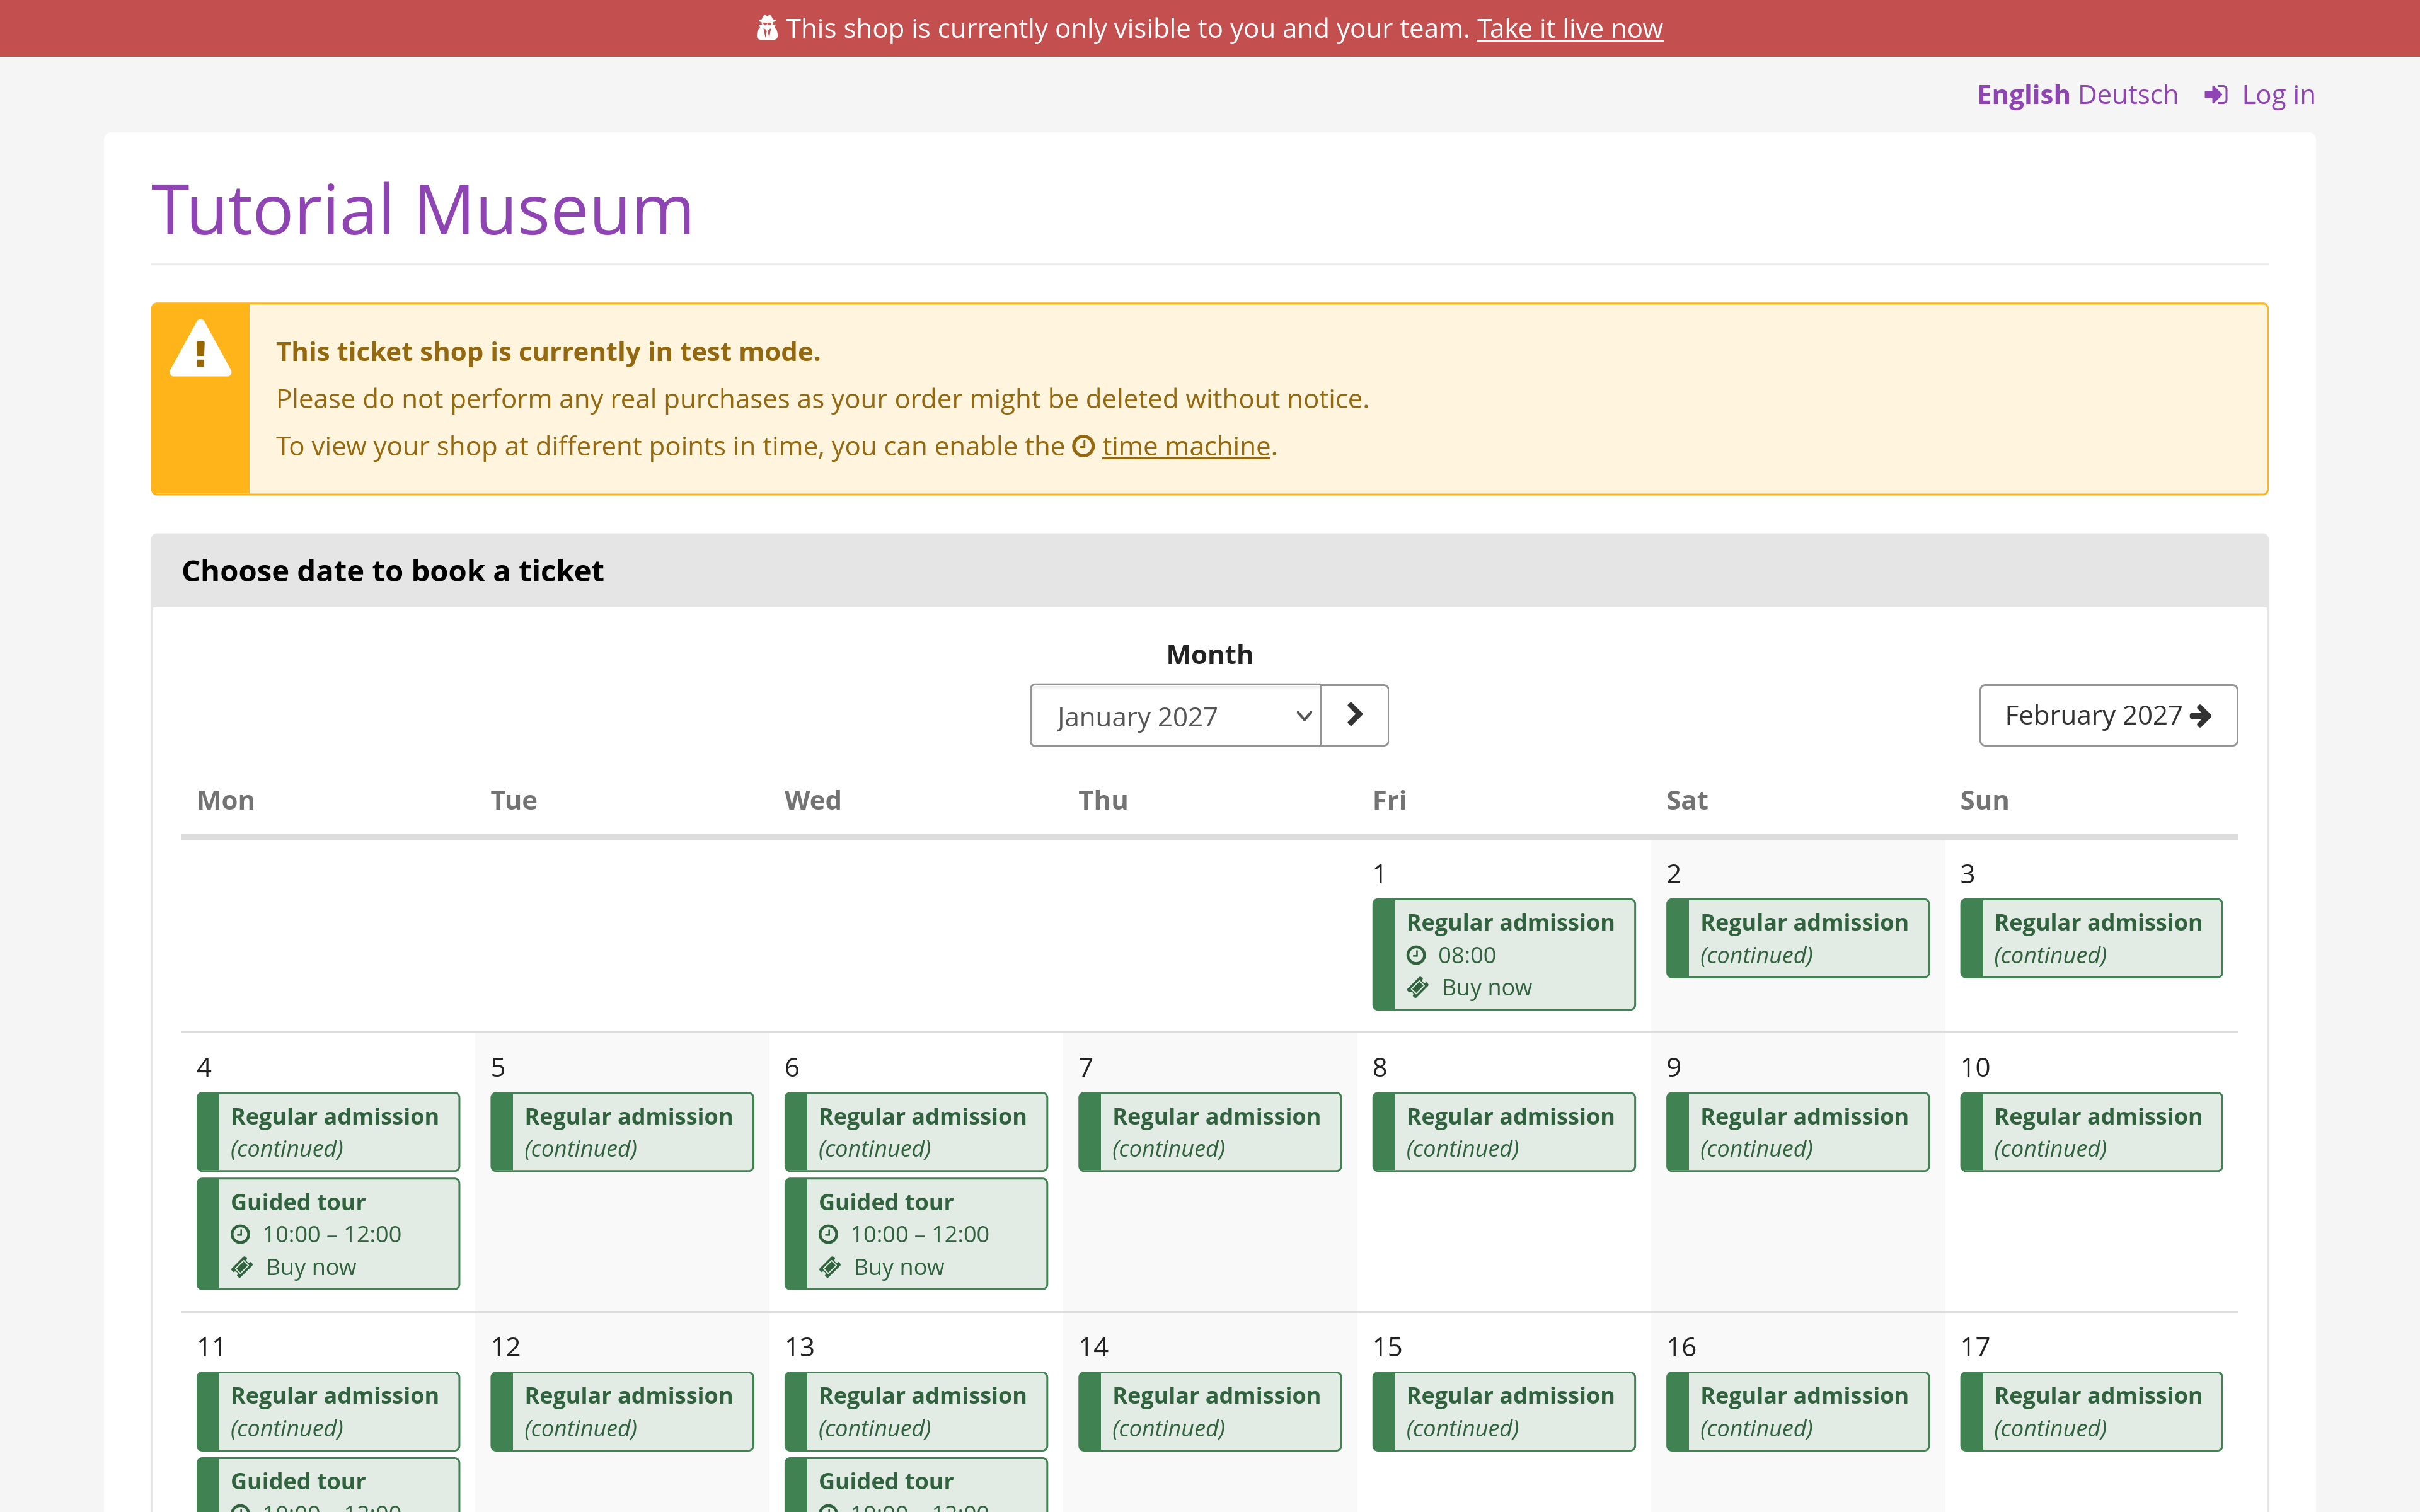
We will now place an order in our shop. In order to do so, we are going to click the Go to shop button in the bar at the top.
This takes us to the shop page. The shop page should currently have a red bar at the top stating that it is only visible to us and our team, and a yellow box warning that it is in test mode. We will now place an order for a standard ticket and a discount ticket and follow the instructions on the screen. When prompted, we will enter an email address to which we have access.
During checkout, we will choose credit card as the payment method. This should currently display a note stating that the Stripe plugin is operating in test mode. We will use the credit card data for one of the test cards listed by Stripe to issue a fake payment for our order.
We will now open pretix.eu, navigate to our event, and click Orders in the sidebar. This page displays a list of orders. If our test has been successful, the list now contains the test order we placed in the previous step. The order should have the status " Paid".
We are going to repeat this process for every language we have activated for the shop. This way, we can check if we have provided all the necessary translations and if our localization settings are correct.
Making final improvements to our shop#
By trying out the shop and getting the same view as our customers, we will be able to see if we have made any mistakes or forgotten anything while setting up our event. We may need to add texts, images, new products, questions, checks, or fine-tune the appearance of the shop.
It is possible to adjust these things when the shop is already live. However, we are going configure our shop so that it is exactly in the state we want. We will do this before we take it live. This means that all of our customers will have a unified and flawless experience while using it.
Disabling test mode and deleting orders#
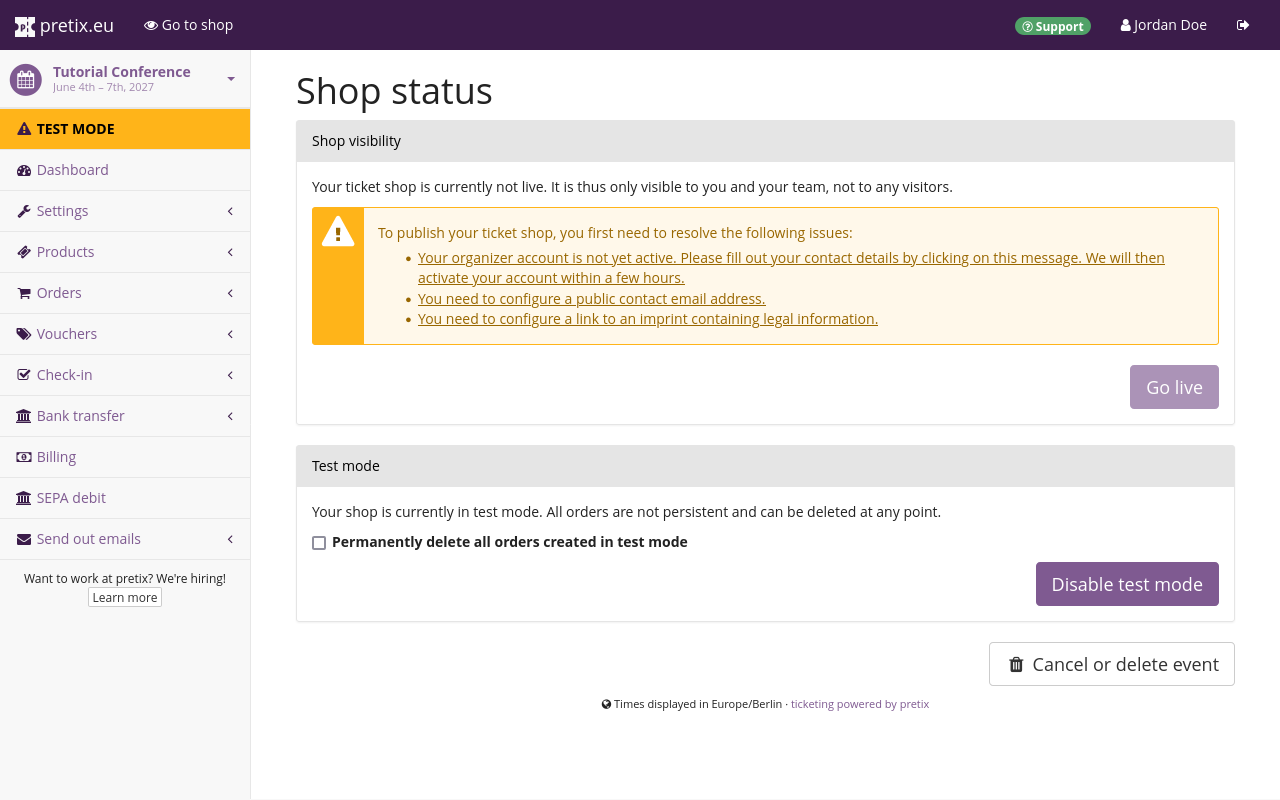
We want only real orders from actual customers to appear in our shop from this point onwards. Thus, we have to delete the orders we placed in test mode. In order to do so, we will navigate to our event and click the TEST MODE entry in the sidebar which is highlighted in orange. We will check the box labeled "Permanently delete all orders created in test mode" and click the Disable test mode button.
Conclusion#
Once the experience in our shop is satisfactory and we have checked all other points off the list above, we can finally take our shop live. In order to do so, we are going to navigate to NavigationspfadEvent dann Dashboard.
The event dashboard displays a box saying "Your ticket shop is not yet public. Click here to change". Clicking that box takes us to the "Shop status" page. We are going to click the Go live button and our ticket shop will finally go live!