Organizer account#
An organizer account represents an entity that is running events, for example a company, an institution, or a person. We created an organizer account and our personal account in the previous step. It is also possible to gain (partial) access to an organizer account by having a team member invite us and then accepting their invitation.
In this section of the tutorial, we will customize our organizer account and add necessary information to it. Here is a brief overview of the steps we are going to take:
- adding contact information on the "General" tab
- choosing language and localization options on the "Localization" tab
- customizing the organizer page on the "Organizer page" and "Shop design" tabs
- setting up cookie/privacy information on the "Privacy" tab
- getting our pretix account activated by providing necessary information in the "Billing settings"
This covers all necessary steps for preparing our organizer account for hosting events with pretix. A few of these steps are optional, but will save us some work in the long term. For instance, pretix will save organizer-level language and design settings as the default for any events we are going to create in the future. We can always come back to adjust the organizer account settings later, in case our needs change.
Navigating to the organizer account settings#
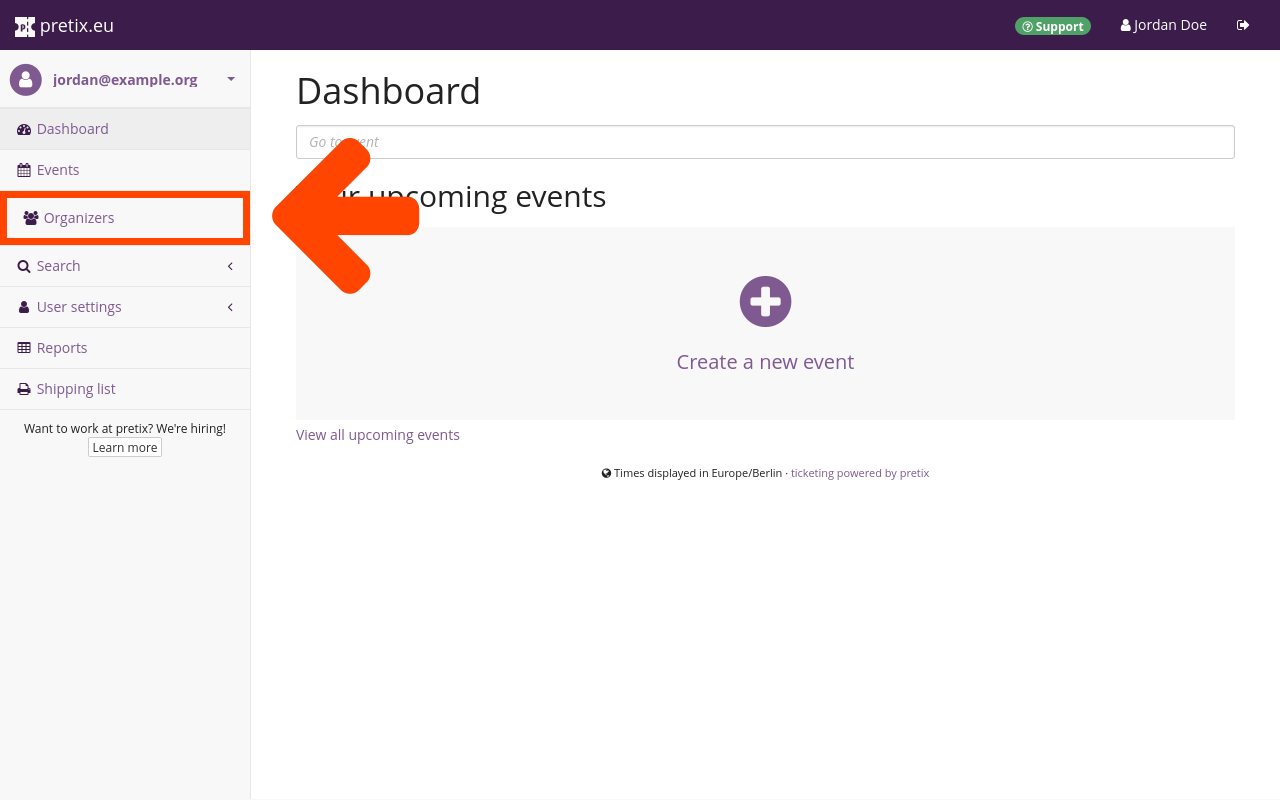
After finishing account creation and logging in to pretix.eu/control, pretix greets us with the dashboard. We can always come back to this page by clicking the pretix.eu button in the bar at the top. Clicking the Organizers button in the sidebar takes us to the "Organizers" page.
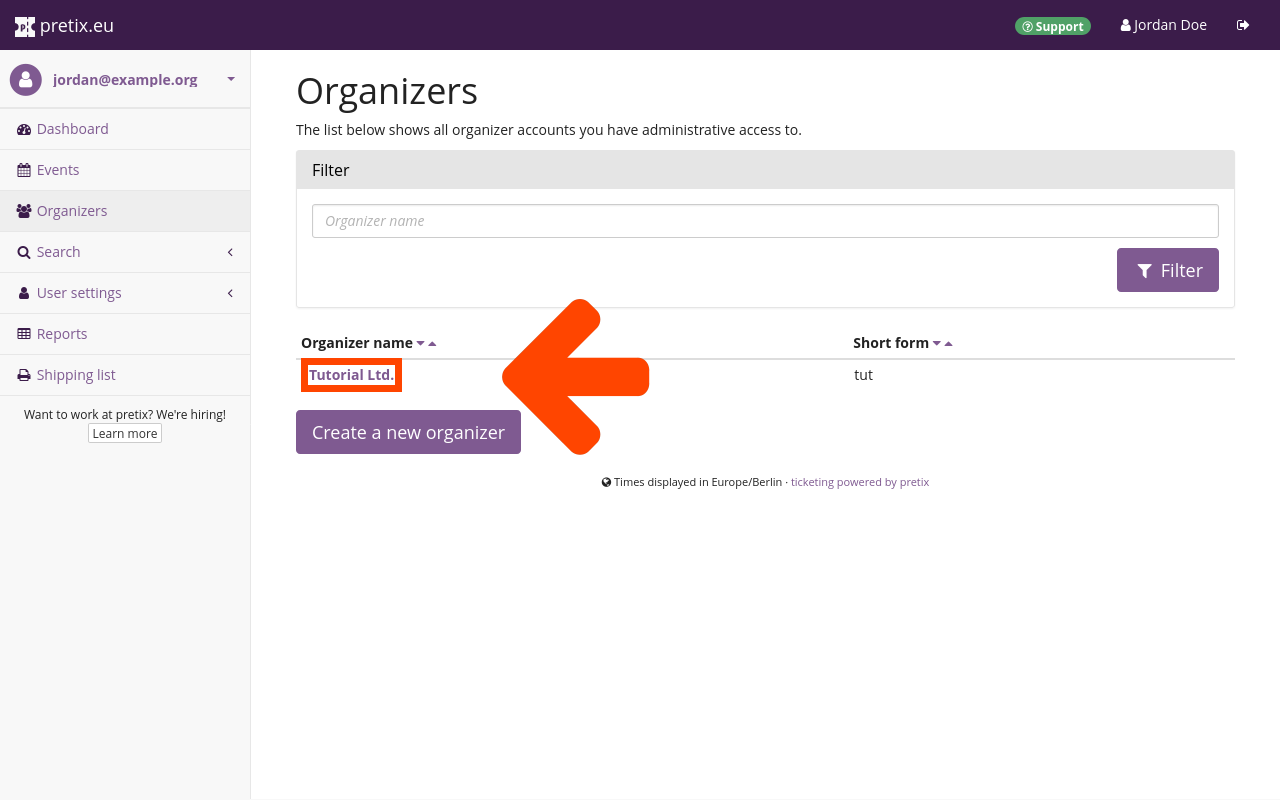
Upon clicking our organizer account in the list, pretix takes us to a page displaying all events associated with that organizer.
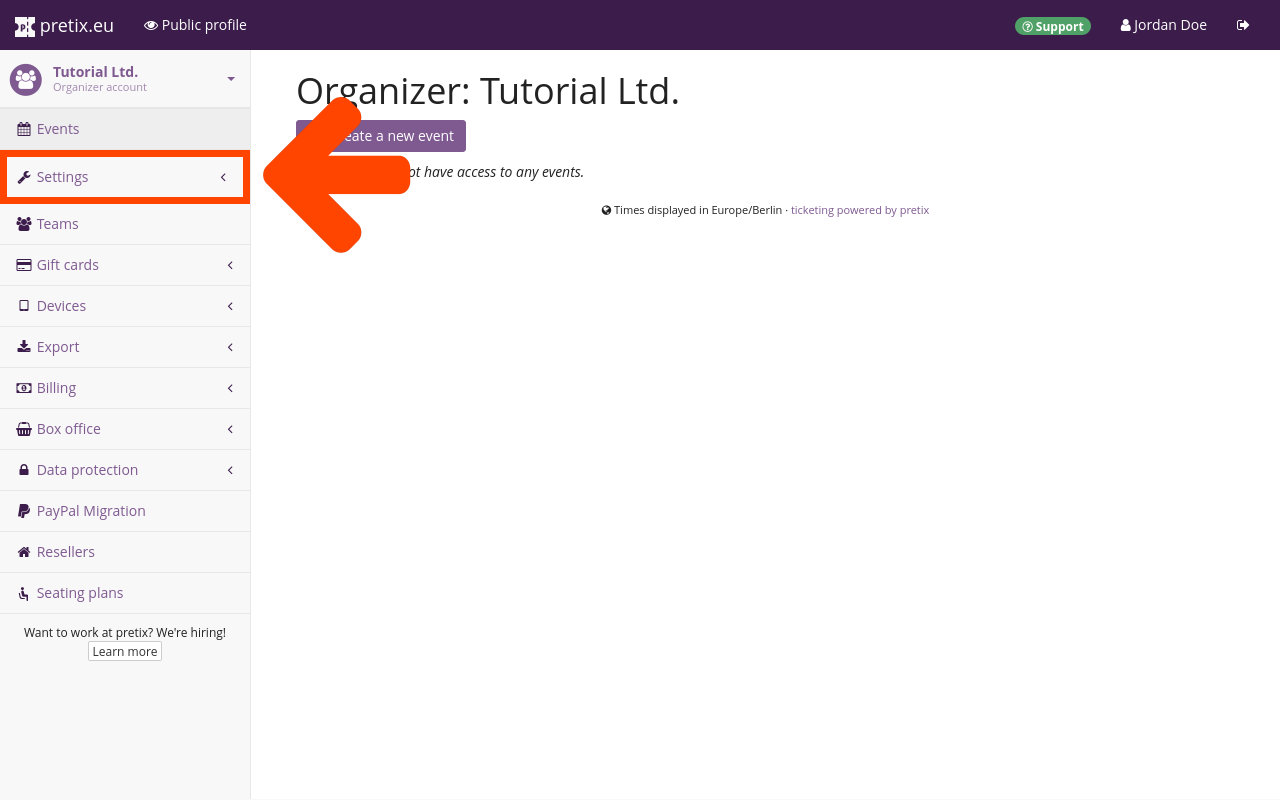
We are now going to click Settings in the sidebar, which lands us on the general settings page for the organizer account.
General#
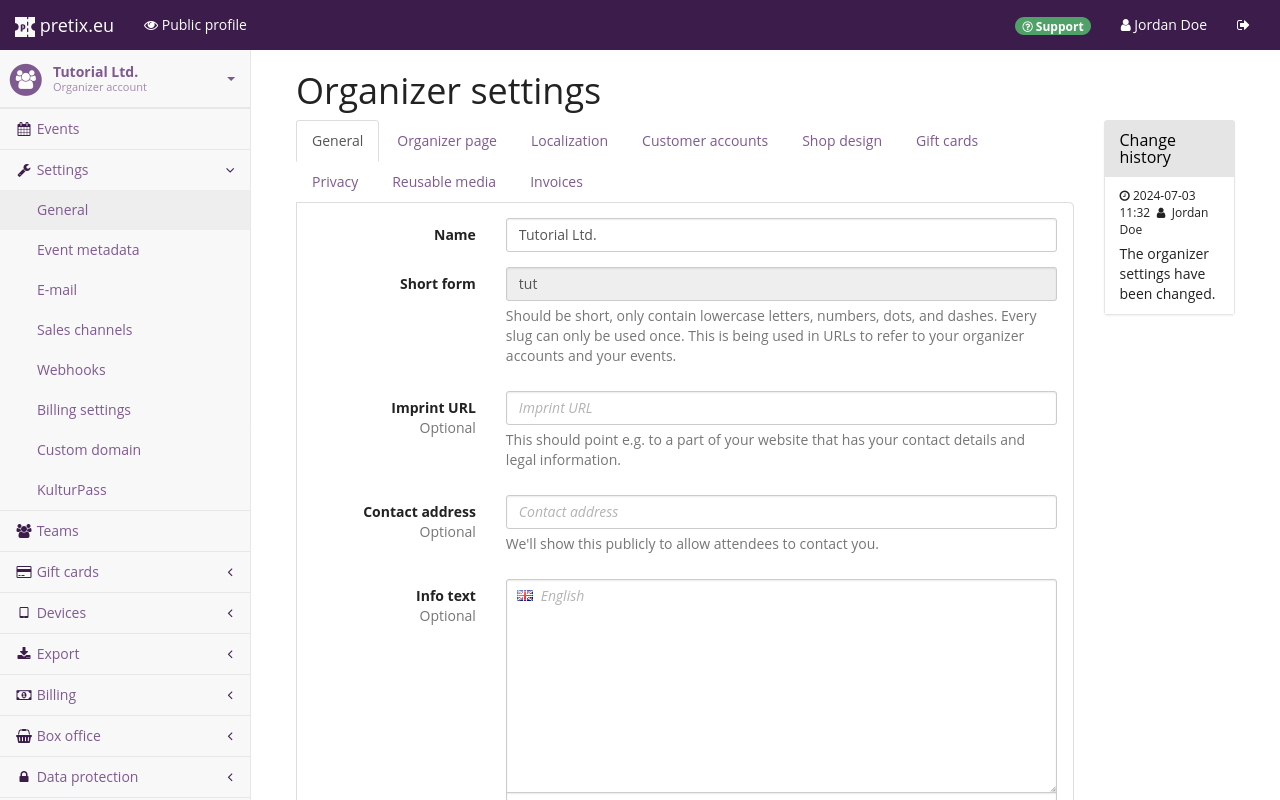
The fields for "Name" and "Short form" are already filled out. It is not possible to change the short form because it is the organizer's unique identifier.
Since we are operating from Germany and thus required by law to include certain legal information on all our websites, we are going to enter the URL to our website's imprint in the "Imprint URL" field.
Note
Even if you are operating in a country other than Germany, we require all pretix Hosted customers to enter a valid imprint URL that points to information on who is responsible for the published ticket shop.
We will enter a valid email address into the "Contact address" field. Our public profile will display this email address under the label "Contact event organizer" in the footer. This will allow customers to contact us.
It is not necessary to touch all the settings displayed on this page. This is also true for most of the pages that we are going to visit for this tutorial.
pretix is a powerful tool that offers many detailed adjustments and tweaks. This tutorial covers all the necessary steps for creating our shop. If this tutorial does not mention a setting, then that means that it is not necessary to interact with that setting.
Clicking the Save button at the bottom of the page confirms our changes.
Localization#
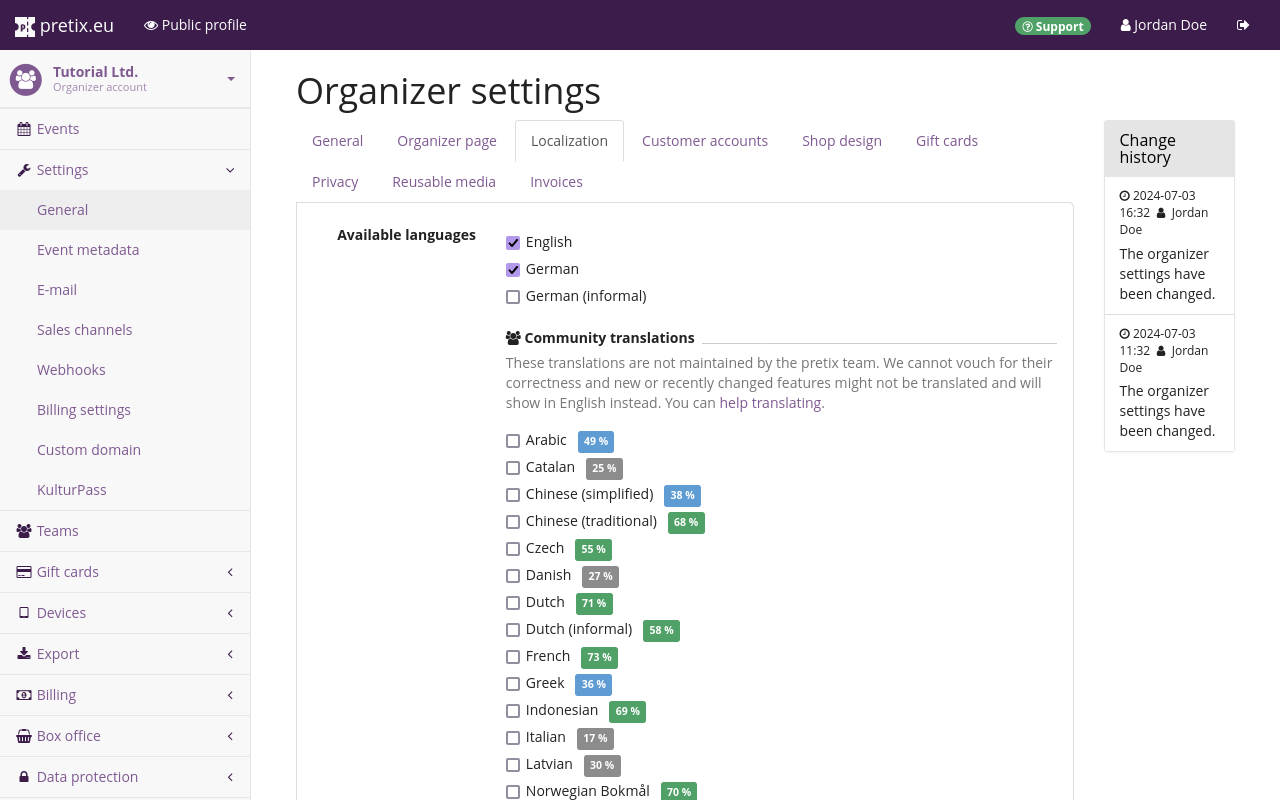
After saving the general settings, we are going to switch to the Localization tab.
Under "Available languages", we can choose the languages in which we will publish our ticket shop. The options officially maintained by the pretix team are "English", "German", and "German (informal)". "German" uses "Sie" to address the user whereas "German (informal)" uses "du".
We can also choose one of the community translations for our organizer page. The list below displays the community translations along with a percentage indicating how much of the software has been translated. pretix will use English as the fallback language for missing translations.
These settings also determine the default languages when creating new events, though we can activate or deactivate languages for each event individually. We are going to activate "English" and "German (informal)" for our example conference.
Note
pretix offers many settings and customizations where you input your own text, for example, the description on the organizer page, the name of your events, and so on. You will need to provide a translation in every language you choose here for each individual item. This can amount to a lot of work. We recommend using no more than two or three languages at a time unless you are working with dedicated translators.
We are going to choose Germany from the drop-down "Region" menu near the bottom of the page.
pretix will use this selection to determine default formats for dates, times, addresses and phone numbers.
We will choose Europe/Berlin as the "Default timezone" from the drop-down menu with that title.
We use the Save button to apply our localization settings. It makes sense to do this before changing any settings on the other tabs. The localization settings determine which customizations are available there.
Organizer page#
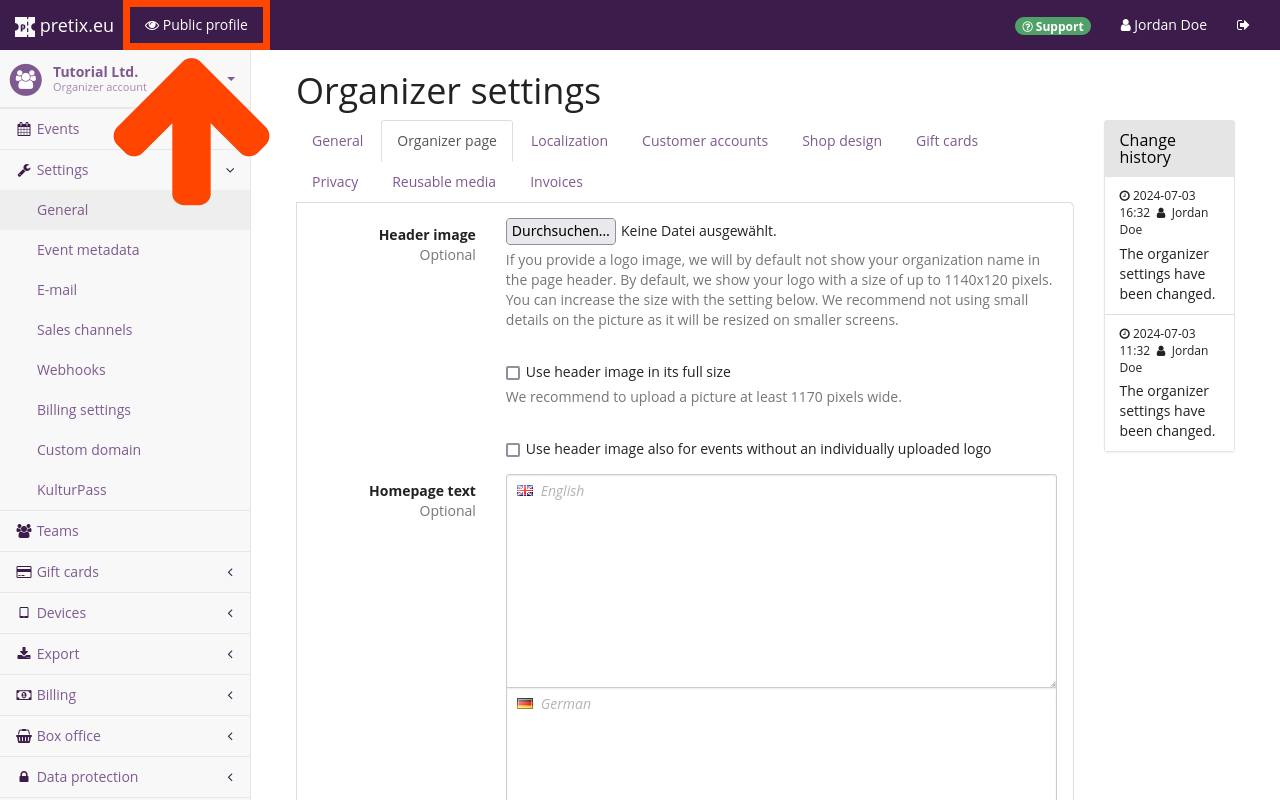
Switching to the Organizer page tab at the top allows us to add our logo and customize our shop's interface colors.
Clicking the Public profile button in the bar at the top takes us to a preview of the organizer page from the customers' perspective. An organizer page created with pretix Hosted will by default be located at https://pretix.eu/OrganizerShortForm/. The shop we are creating for this tutorial is located at https://pretix.eu/tut/.
By default, the page header of our organizer page will display the name of the organizer. The organizer page settings allow us to replace the name with a header image that tells our customers who is hosting the event (for instance by means of our company name, logo, or recognizable design).
We are going to add the header image by clicking the Browse... button next to the "Header image" option and choosing a .png file with a resolution of 1140 × 120 pixels from our computer. The header image will replace the name of the event at the top of the page. We are going to check the box next to "Use header image also for events without an individually uploaded logo".
In the "Homepage text" fields, we can provide text to be displayed on our public profile. There is one field for each language we activated in the Localization tab (see the Localization segment of this article)—English and German (informal). Our public profile will allow the viewer to switch between those languages via the links in the top right corner.
Privacy#
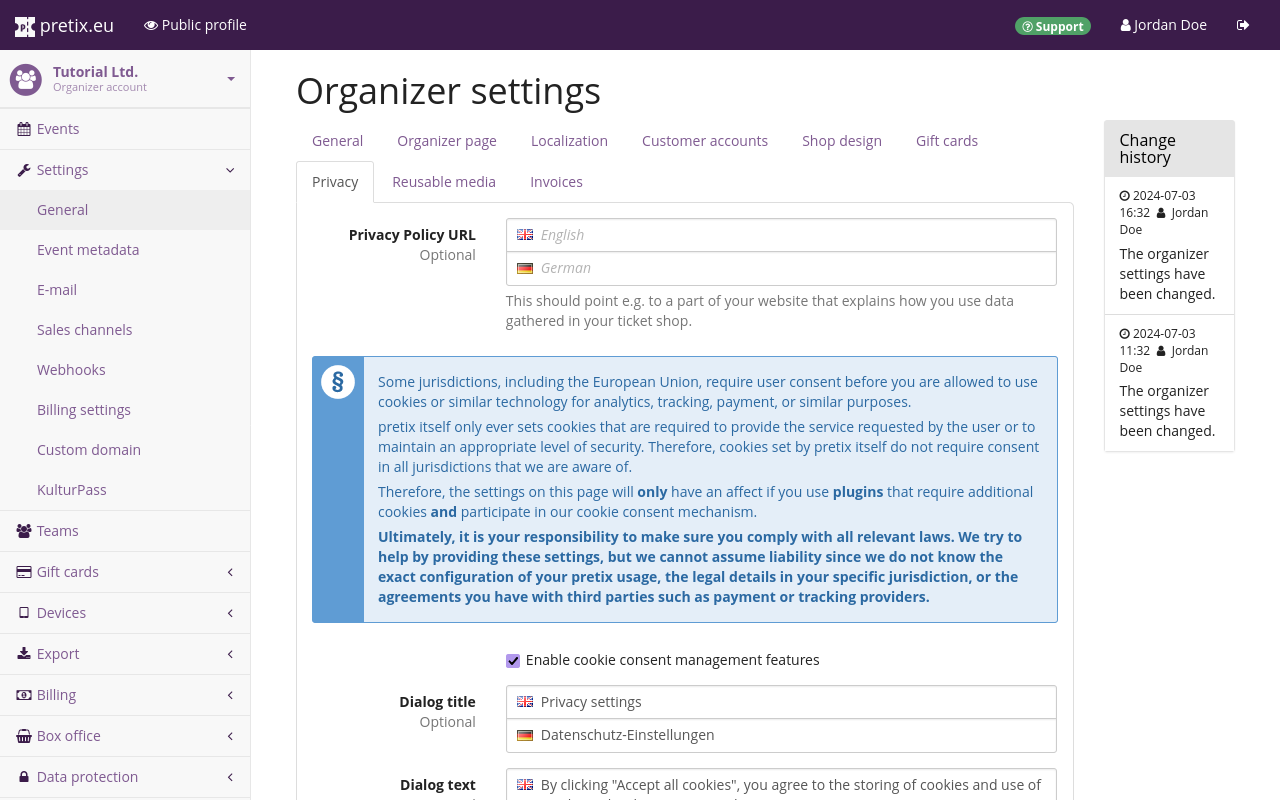
On the Privacy tab, we can provide a URL pointing to our privacy policy for each language we activated.
Warning
It is your responsibility to ensure compliance with applicable legislation. We are trying to help you by suggesting these settings. But we cannot assume liability since we do not know the exact configuration of your pretix usage, the legal details in your specific jurisdiction, or the agreements you have with third parties such as payment or tracking providers.
Activation#
pretix Hosted
Before any of our ticket shops can go live, the pretix team has to activate our organizer account. As soon as we have provided all necessary information for correspondence and billing, the pretix team will manually review our account.
In order to enter the necessary information, we will navigate to the billing settings. Billing settings is one of the entries nested underneath " Settings" in the sidebar on the left. It is not to be confused with " Billing", which is an independent entry further down in the sidebar.
In the "Billing settings", the topmost field on the General tab is labeled "Primary contact person". We are going to enter the name of a real person within our organization so the pretix team knows whom to contact if there is an issue with our account. We will enter their email address and phone number in the fields below. This information is mandatory. Merely providing a company name is not enough to get our account activated.
We are going to enter the full contact details of our company further down on the page. If we are in an EU country other than Germany and want to use the reverse charge policy, then we will also add a "VAT ID". If we do not provide that VAT ID, then pretix GmbH will be forced to invoice us with the tax rate of the country we entered above.
The pretix team offers service in English and German. We are going to choose English as our preferred language of correspondence.
For our "Preferred method of payment", we are going to choose Credit card.
We need to fill out our credit card info, check the box to authorize payments, and click the Save button.
The page will notify us if any required information is still missing. If we have provided all required information, a green checkmark will appear at the top of the page with the message "Your changes have been saved." This means that we have submitted our organizer account to the pretix team for review. They will activate it shortly.
Conclusion#
Now that our account's basic setup is complete and it is awaiting activation, we can move on to creating our first event.