Getting Started#
Welcome to the pretix tutorial! In this tutorial, we will go through all the necessary steps for setting up your very first ticket shop using pretix. For illustrative purposes, we will set up a shop for a museum. We are going to sell tickets for the regular opening hours of that museum and for guided tours.
We will use specific examples for our organizer, event, and products, as well as the names and prices thereof. Feel free to replace these examples with your own as you create your event according to your needs.
Note
This tutorial explains setting up a ticket shop for a venue with continuous operation such as a public swimming pool, an amusement park, or a museum. If you want to create a shop for single events such as conferences, conventions, trade fairs, concerts, or festivals, you should take a look at the tutorial for single events instead.
pretix is open-source software. You can use it either in the cloud or on your own server. Running pretix on your own server requires some technical knowledge. If you want to self-host pretix, refer to our self-hosting documentation. This tutorial focuses on the easier method: using our cloud-based pretix Hosted offer.
Here is a brief overview of the steps we are going to take in this tutorial:
- creating a personal account and organizer account
- setting up our organizer account
- creating an event series
- creating products (tickets and merchandise) for our event
- creating dates within our event series (regular opening hours and guided tours)
- setting up payment methods
- testing our shop and making final adjustments
Creating an account#
Before we are able to do anything with pretix, we have to create an account. Good news: creating an account is completely free of charge and does not come with any obligation to pay money for the use of pretix in the future. We are free to play around with the pretix software to our heart's content before deciding whether pretix is the right choice for us. Costs will only occur when selling actual tickets.
Note
If your company, association or institution already has an organizer account, then it is not necessary to create a new account. Instead, you can ask your co-organizers to send you an invitation and add you to the team. You can find instructions on inviting someone to a team in our guide on teams.
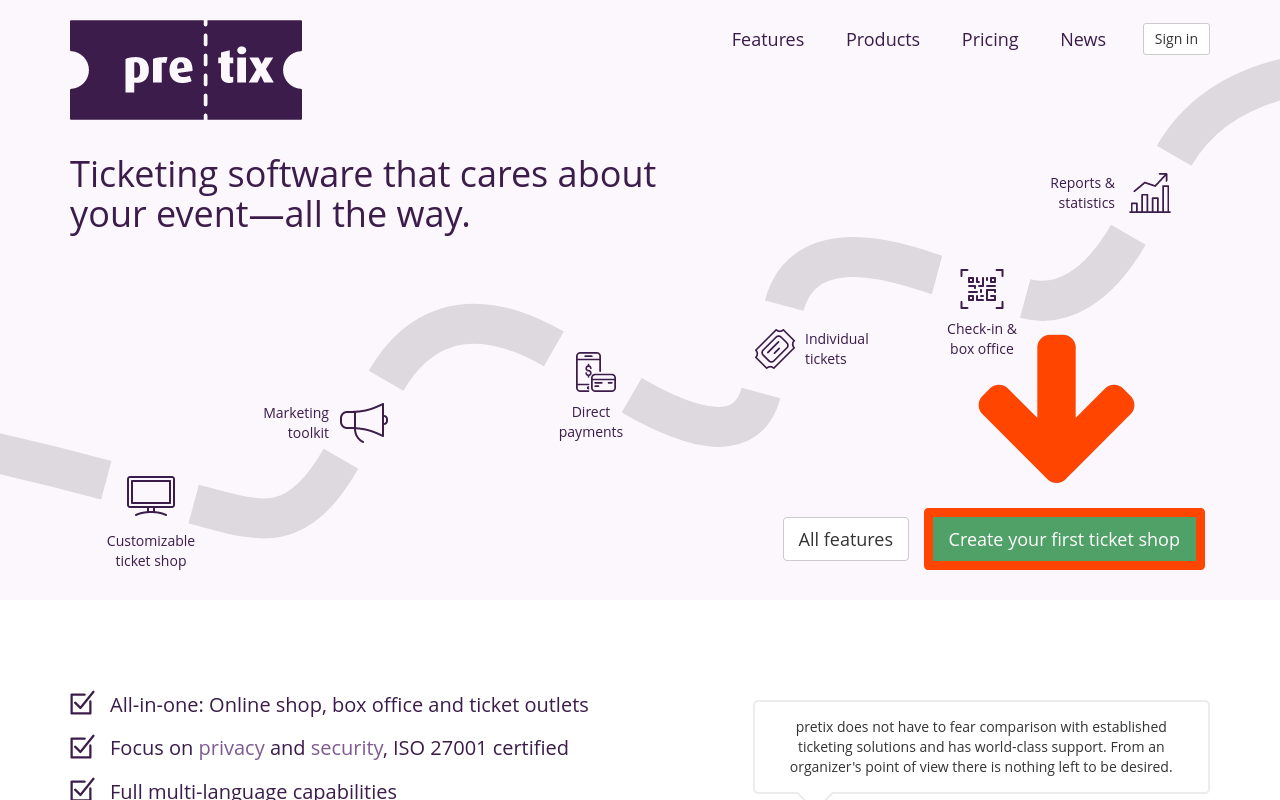
To create an account, we are going to click the green Create your first ticket shop button on the pretix.eu website. This takes us to a site on which we will enter the info for our personal pretix account in the left column, and the name and short form for our organizer in the right column.
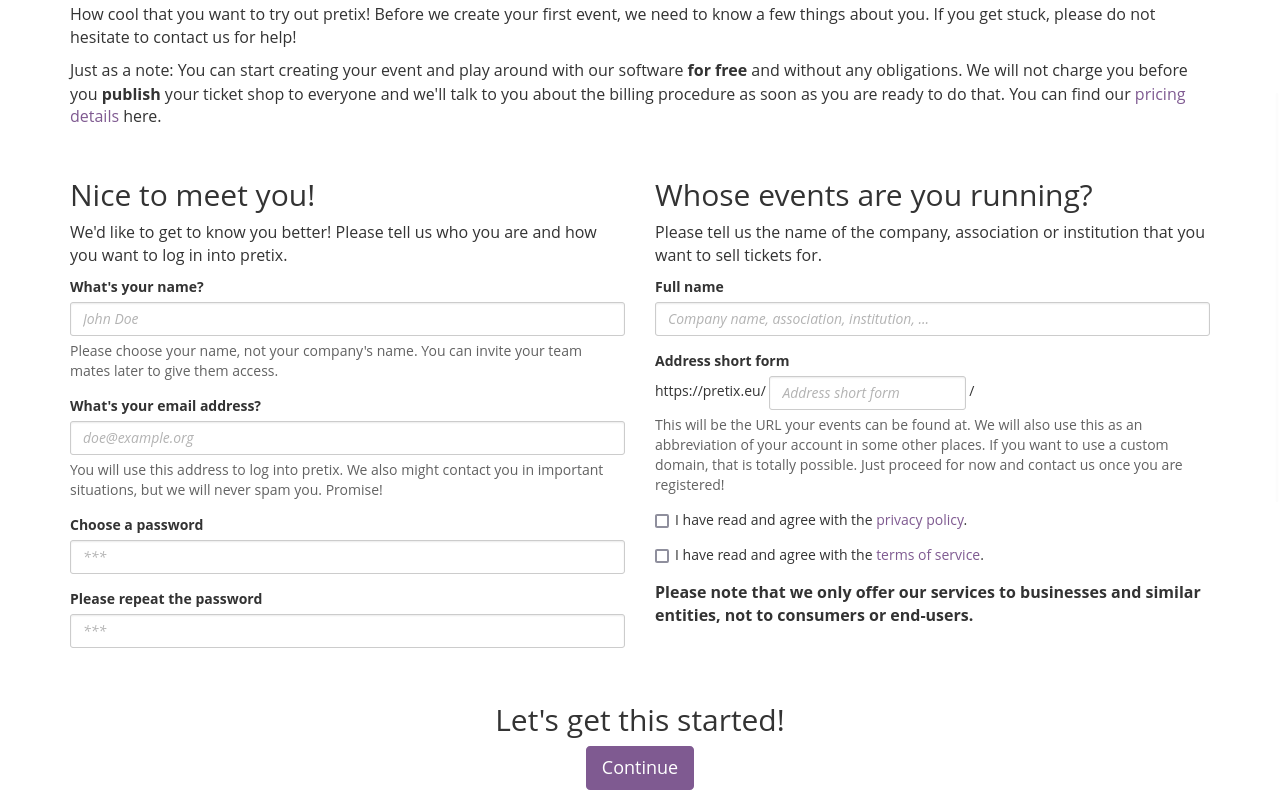
For our personal account, we are going to provide our name, email address, and a secure password. The field on the top left is meant for the name of the person to whom the account belongs, not for a company name. We are going to choose a name by which our co-organizers will recognize us and which the pretix support team can use to address us. For this tutorial, our name is going to be Jordan Doe.
Everyone should have their own personal login. If other members of our team should have access to the system as well, we will be able to invite them later in the process.
Warning
The short form is the unique identifier for your company in the pretix backend. pretix will also use it in the shop URL. Put careful consideration into the short form. Only submit it when you are happy with your choice.
If you want to use a different short form, then you will have to create a new organizer account.
The "Full name" field is meant for the name of the company, association, or institution for which we want to organize events. The "Address short form" field is for a short form of the organization's name. pretix will use this short form for the URL under which customers can find our events.
For this tutorial, we are going to create an account for our Tutorial Ltd. So we will enter "Tutorial Ltd." into the full name field, and "tut" into the address short form field. This means that our organizer's profile and all the events we are going to create will be found at https://pretix.eu/tut/ from now on.
There is no need to create a dedicated test account or use the word "test" anywhere in the short form or name. Our shops will remain invisible to the public until we manually take them live. But even before that, we will still have access to all functions and settings.
By using the official name of our organization for the account right away, we can ensure that we get to use our preferred URL. We can also avoid having to make the same adjustments to two different accounts. Our events will not be visible to the public, nor will pretix GmbH charge us, until we decide to take them live.
Note
The short form may only contain letters, numbers, dots and hyphens. It may not contain spaces. It may not contain other special characters. Spaces and special characters other than dots and hyphens would render the URL invalid.
The privacy policy and terms of service are both linked on this page. Reading them carefully, agreeing with them and checking the boxes to confirm is a requirement for using pretix.
We will now click the Continue button and thus take our first step towards hosting our first event using pretix. Next, we are going to set up our organizer account.