Stripe#
Stripe is one of the many options for handling payments within pretix. Stripe allows handling payments via the following methods: Affirm, Alipay, Apple Pay, Bancontact, credit card, EPS, Google Pay, iDEAL, Klarna, MobilePay, Multibanco, Przelewy24, Revolut Pay, SEPA Direct debit, Swish, TWINT, and WeChat Pay. This article tells you how to connect to your Stripe account and use it to receive payments via pretix.
Prerequisites#
Setting up payment providers is handled on the event level, so you need to create an event first. You need to have an active Stripe merchant account. A regular Stripe account is not enough for integration with pretix. You can find instructions on how to sign up for a Stripe merchant account on the Stripe website.
How to#
Setting up Stripe as a payment provider in pretix involves the following steps:
- Enable the Stripe plugin
- Connect to your Stripe merchant account
- Enter mandatory info on the settings page for Stripe
- Make optional adjustments
- Enable payment via Stripe
- Test it
- Switch the Stripe endpoint to "Live"
This section guides you through those steps in detail.
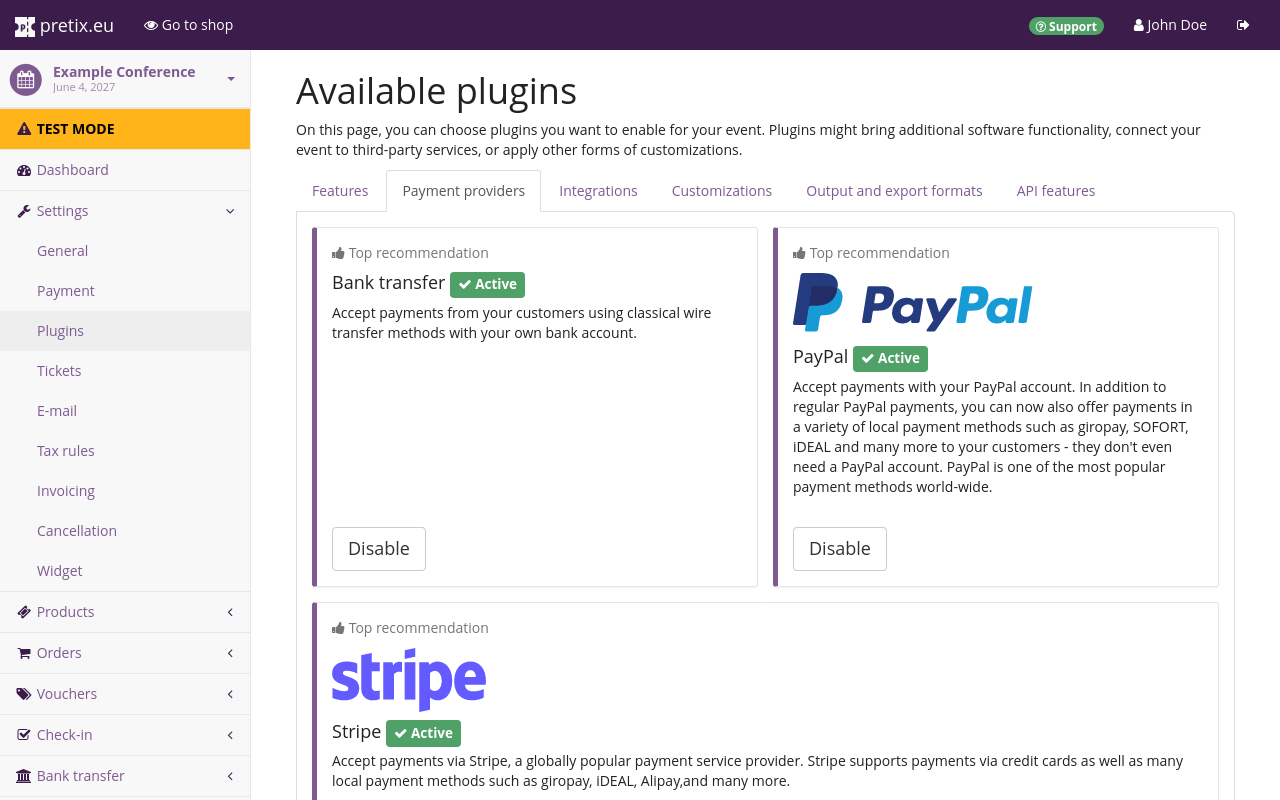
Navigate to navigation pathYour event then Settings then Plugins. Switch to the Payment providers tab. This page displays the Stripe plugin at the top. It should be active by default. If it is active, it will have a green " Active" tag, a white "Disable" button, and two drop-down menus. If it is not active, the tag will be missing and it will have a purple Enable button. Verify that the plugin is active. .
You can jump straight to the Stripe settings by clicking the Settings drop-down menu and then Payment > Stripe.
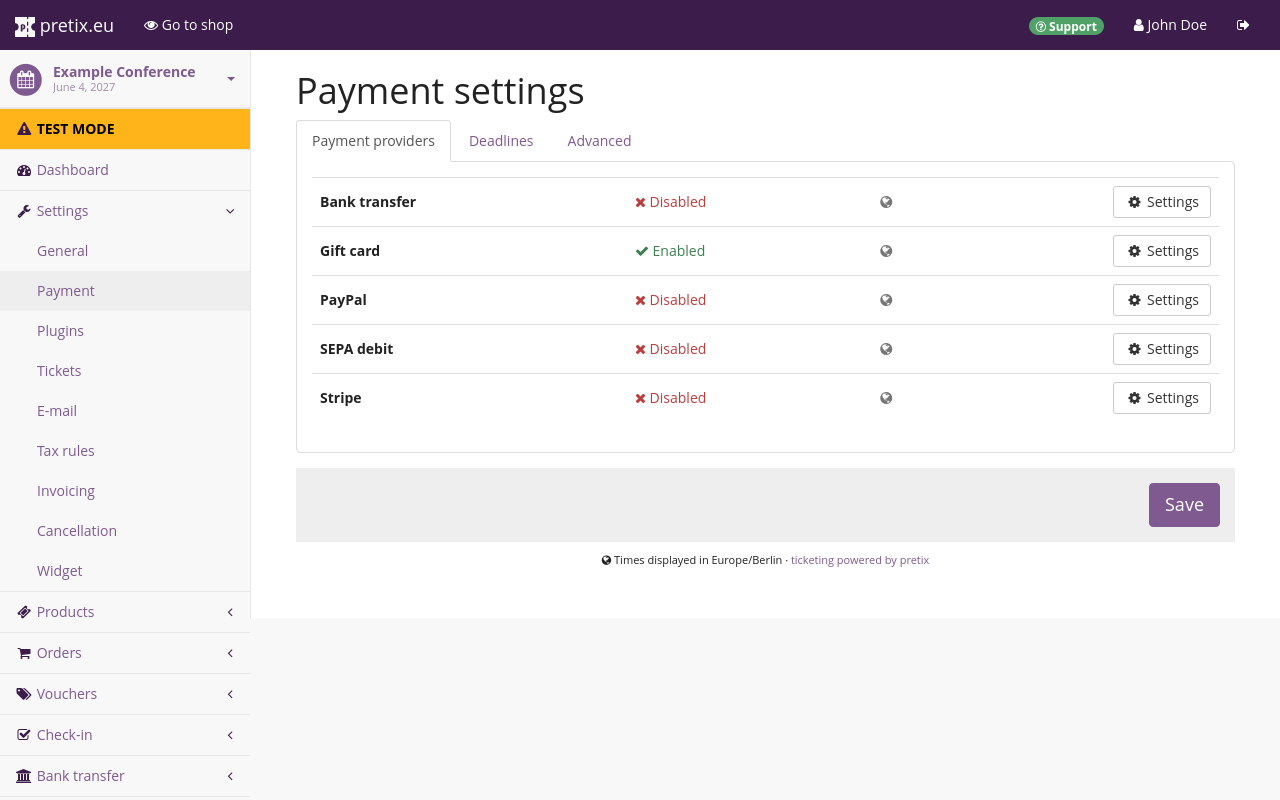
Alternatively, navigate to navigation pathYour event then Settings then Payment. The Payment providers tab on this page displays the list of active payment providers. The list should now include an entry for Stripe with a red " Disabled" tag.
The plugin is active, but you have not set up Stripe as a payment provider for the event yet. Click the Settings button next to Stripe. This takes you to the settings page for Stripe, which currently only includes the Connect with Stripe button.
From this point on, the process is different depending on whether you are using pretix Hosted or a self-hosted edition of pretix (Community or Enterprise).
Connecting to Stripe with pretix Hosted#
pretix Hosted
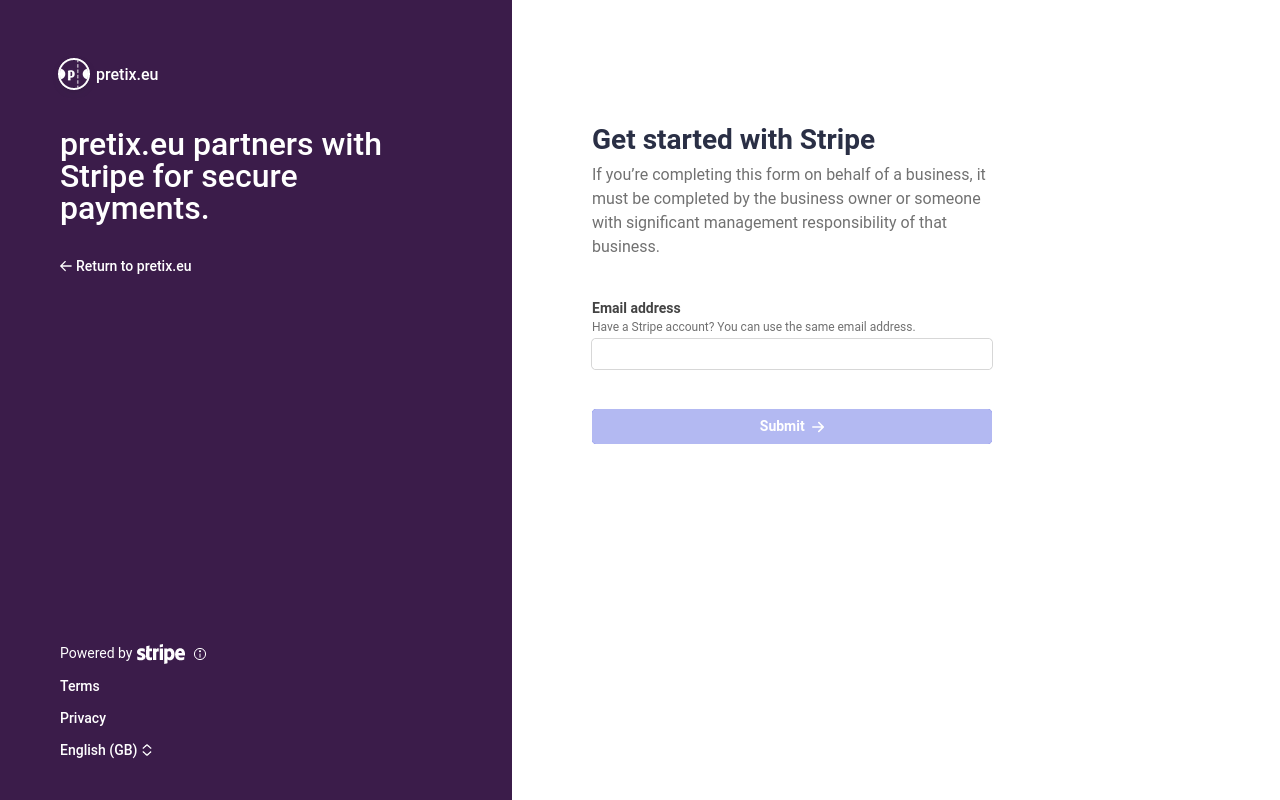
Click the button and complete the the login and authorization process with Stripe.
After you have completed the authorization process with Stripe, the Stripe settings page in the pretix backend will look different. Instead of the single button, it will now offer a multitude of settings. The page will display your Stripe account near the top.
There are several checkboxes for activating payment methods such as credit cards, Alipay or KLARNA for handling via Stripe. Check the box for each payment method you want to enable. You need to enable some of the payment methods offered here explicitly in your Stripe account settings. Check your account settings on the Stripe website or app for settings related to the payment methods you want to use and enable them.
All further settings on this page are optional. Take a detailed look at the page and enable any settings you want for this payment provider for your event. Once you are satisfied, scroll to the top of the page and check the box next to "Enable payment method". The payment methods you enabled on this page and in your Stripe account settings will now appear as options for customers in your shop during payment.
Once you take your ticket shop live, switch the "Endpoint" option on this page from "Testing" to "Live". While your event is in test mode, the pretix software will always use Stripe's testing endpoint regardless of the setting here.
Connecting to Stripe with a self-hosted edition of pretix#
pretix Community pretix Enterprise
If you are using pretix Community or pretix Enterprise and you have not connected your account to Stripe yet, the settings page for Stripe will display fields for API keys. Go to https://dashboard.stripe.com/login and log in to your account. The "API" page in the Stripe backend displays two pairs of keys: a secret key and a publishable key, one pair for sandbox mode and one pair for live mode. If you want to test payments via Stripe, copy the sandbox keys from the Stripe API page to the corresponding fields on the settings page for Stripe in pretix.
Once you are ready to receive actual payments via Stripe, copy the live keys from the Stripe API page to the corresponding fields on the settings page for Stripe in pretix. For further information, refer to the Stripe documentation pages on API keys.
You also need to create a webhook so that Stripe can update pretix with information such as payment cancellations. Copy the webhook URL from the infobox near the bottom of the Stripe settings page in pretix. Open https://dashboard.stripe.com/webhooks and create a new destination. During the event destination setup process, select all event types for being sent to pretix. Paste the webhook URL into the corresponding field and click :tbn:Create destination:. For further information, refer to the Stripe documentation pages on event destinations.
After you have set up the connection between pretix and Stripe, the Stripe settings page in the pretix backend will now offer a multitude of settings. All new settings here are optional. Take a detailed look at the page and enable any settings you want for this payment provider for your event. Once you are satisfied, scroll to the top of the page and check the box next to "enable payment method". Stripe and the other payment methods you enabled on this site will now appear as a payment option for customers in your shop.
Once you take your ticket shop live, switch the "Endpoint" option on this page from "Testing" to "Live". While your event is in test mode, the pretix software will always use Stripe's testing endpoint regardless of the setting here.


